How To Repair Damaged VHS Tapes
For countless American families, the 1980s and 1990s were the Golden Era for VHS homemade family movies. Camcorders were more affordable than ever, and you could record numerous events on VHS tapes and other tracks. Many still have some of their most important memories (from weddings to graduations) saved on VHS tapes.
Unfortunately, the tapes can get damaged and worn out, so you can’t access the content. Without realizing it, your memories might be fading away. Learn how to repair damaged VHS tapes and take steps today to preserve your family videos for decades.
Why Your VHS Tapes Are Damaged
If you recently took out your VHS tapes to go over family memories, you might be surprised to see that some recordings are breaking down while others won’t play at all. If you stored your memories in a cool, dry place and haven’t handled them in years, there’s no reason for them to break – right?
Unfortunately, videotapes aren’t made to last forever. Your video footage will break down over time, and you can expect to lose 10-25% of the footage every ten years. The more you hold on to your tapes, the poorer the quality will become.
You don’t have to panic if you are worried about your family’s home videos. Follow these steps to repair damaged VHS tapes so they can be preserved.
Step 1: Identify the Extent of the Damage
If you notice that one VHS tape is worn out or broken, multiple likely start to break down. The first step if you want to repair damaged VHS tapes is to see how many problems you need to address.
Start by looking at each VHS tape and reviewing the condition it is in. You might sort your recordings by those that are playable and those that are not. You can also watch the VHS recordings of the tapes you think are in good condition to see if they look faded or are starting to jump.
This will give you a scope of the project so you can actively start repairing the damage.
Step 2: Evaluate the Cassette Case
The first step is to look at the case itself, which is likely to sustain damage if it is dropped or stored incorrectly. You might have a crack in your case, or the various leaders and wheels could be broken.
It could be a good sign if the broken case is the only visible issue. A professional repair technician might be able to remove the actual tape and insert it into a functioning cassette. However, when you need to repair damaged VHS tapes, you can’t guarantee that each broken movie has only one problem. An issue with the cassette might be the first issue, but others could also need to be addressed.
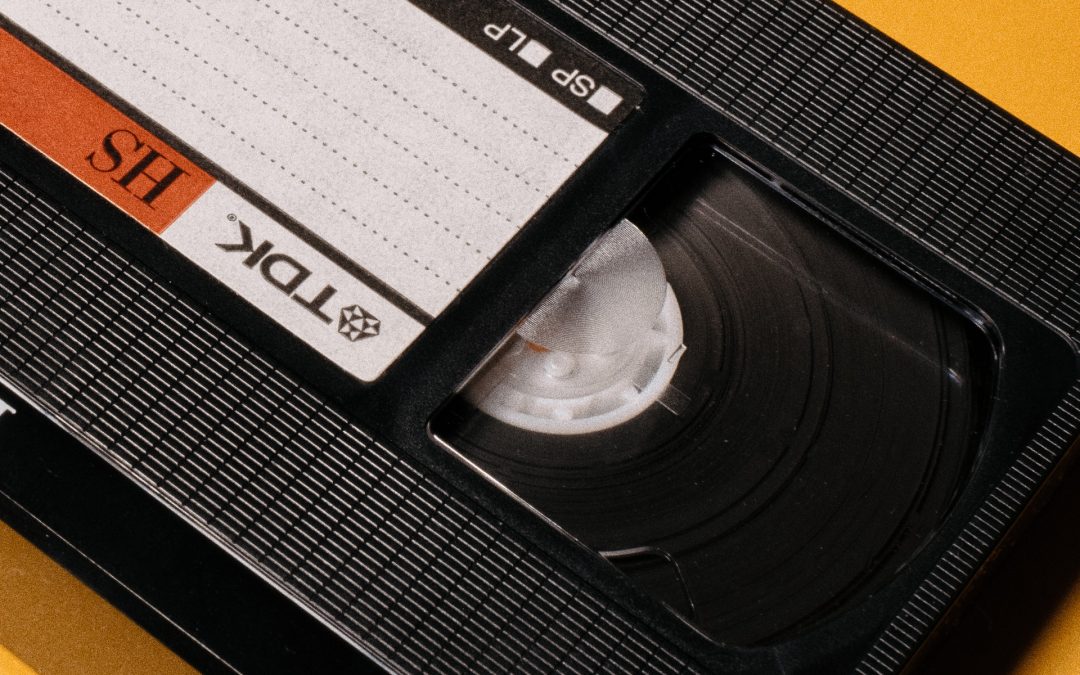
Step 3: Look in the Interior
If you decide to open up your movies, gather the right equipment. Find rubber gloves so the oil on your fingers won’t damage the film. You will also need a small Phillips head screwdriver to open it up. You might need additional tools to repair damaged VHS tapes but a screwdriver is your main support when identifying the problem.
Once you open up the cassette, look for additional signs of damage. You should be able to see if the tape is loose and simply needs to be tightened or if it is no longer magnetized (which means the movie cannot play). You can also check for broken readers and other issues that identify problems with the movie.
If you aren’t sure what a good, fully functioning VHS tape should look like, open up a working model first. This way you can compare what the tape should look like to how the interiors of your damaged movies look. Make sure there isn’t any footage on the new VHS tape so you don’t accidentally lose your memories.
Step 4: Check the Tape for Creases and Tears
If everything looks good with the cassette, the issues might lie in the tape itself. Look for any creases, wrinkles, tears, or breaks in the tape and prevent it from running smoothly. Remember, there might be multiple wrinkles or issues that develop over time.
Unfortunately, tape problems aren’t easy to fix. The ends need to be spliced back together in a careful and highly technical process. If you notice that you have tears in your VHS tapes, let a professional handle them.
Sadly, this is one of the most common reasons families need to repair damaged VHS tapes. Rats and other pests can get into cardboard boxes and might nibble at some of the tapes to see if it’s edible. Even if your VHS tapes haven’t been bitten, water and mold can destroy them and make the content unwatchable. This is why careful storage and digitization are so important.
Step 5: Decide Whether You Want This to be a DIY Project
Once you understand the nature of the issue and the project’s scope, decide whether you want to make the repairs yourself. Repairing damaged VHS tapes can take a long time, and you need the right tools and plenty of patience. You might decide it’s better to drop your VHS tapes off at a repair service so they can do it for you.
Many towns have VHS repair professionals who can help restore your VHS tapes to fully functioning levels. This is a great option if you aren’t sure you can make the repairs on your own.
Digitize Your VHS Tapes Immediately
Even if you go through all the effort to repair damaged VHS tapes yourself or through a service, the content will still wear out over the years. The tapes might be watchable now, but this isn’t a permanent solution. It’s time to digitize your video content to be protected forever – no matter how technology trends change.
At Memory Fortress, we specialize in video transfer services. We can digitize orders as small as five videotapes and orders larger than 100. Let us help you turn your VHS content into digital files that can be shared through the cloud.
Don’t let your VHS tapes break down any more than they already have. Learn more about our process, and then start your order today.